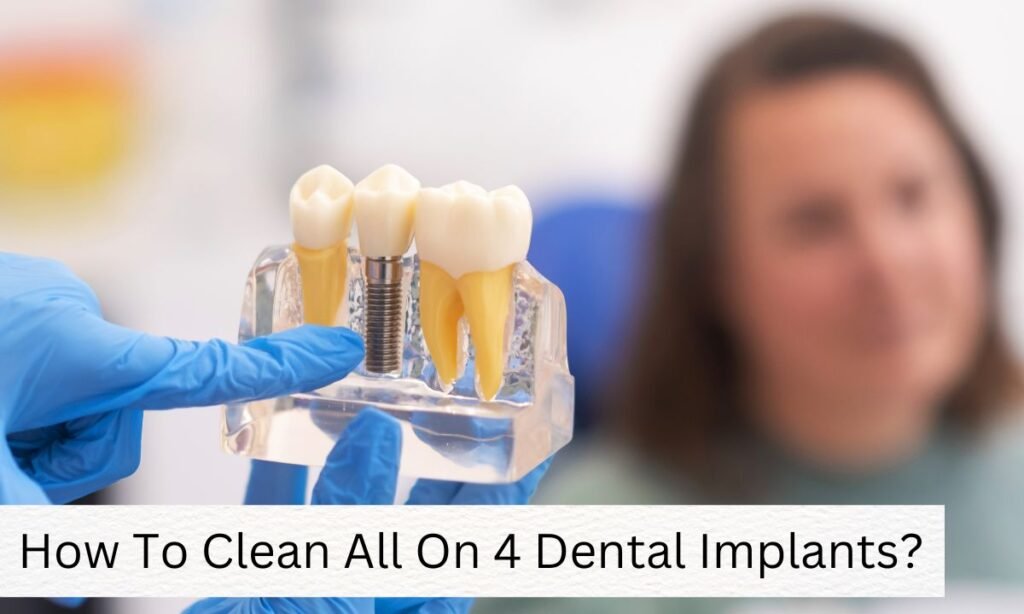
How To Clean All On 4 Dental Implants?

If you’re the proud owner of All-on-4 dental implants, you know how crucial it is to keep them in pristine condition. This guide will walk you through the best practices for cleaning your All-on-4 implants, ensuring they remain healthy and functional. Whether you’re a new recipient or looking to refine your current routine, we’ll address your concerns and provide actionable steps to maintain your smile.
Why Cleaning Your All-on-4 Implants is Crucial
Keeping your All-on-4 implants clean is not just about maintaining a bright smile. Proper cleaning is essential for avoiding serious complications such as peri-implantitis, a condition that can lead to gum disease and implant failure. According to the American Academy of Periodontology, effective oral hygiene can reduce the risk of implant issues by up to 60%.
What Is Peri-Implantitis?
- Definition: Peri-implantitis is an inflammatory condition affecting the tissues around dental implants.
- Consequences: If left untreated, it can result in implant failure and bone loss.
Regular cleaning helps prevent plaque buildup, which can lead to these issues. By following proper cleaning techniques, you’ll protect your investment and keep your oral health in check.
Brushing Your All-on-4 Implants: A Step-by-Step Guide
Brushing is the cornerstone of implant care. Here’s how to do it effectively:
1. Choose the Right Toothbrush
- Type: Opt for a soft-bristled toothbrush designed for implants. Hard bristles can damage both the implants and your gums.
- Recommendation: Electric toothbrushes are often more effective at removing plaque. They provide consistent pressure and reach tricky spots better.
2. Master the Brushing Technique
- Method: Use gentle circular motions around the implants and bridge. Focus on brushing all surfaces, including the metal posts.
- Visual Guide: Refer to our illustrated brushing technique for detailed instructions.
3. Toothpaste Selection
- Choice: Use a fluoride-containing toothpaste. Consult with your dentist for recommendations on specific brands that are suitable for implants.
- Frequency: Brush twice daily to ensure comprehensive cleaning.
Flossing Techniques for All-on-4 Implants
Flossing is vital for cleaning between implants and under the bridge where toothbrushes can’t reach.
1. Importance of Flossing
- Purpose: Flossing removes plaque and food particles between implants, preventing buildup and gum disease.
2. Using Super Floss
- What Is It?: Super floss consists of a thread with a stiff end, making it easier to maneuver around implants.
- Instructions:
- Insert: Thread the stiff end of the floss between the bridge and implants.
- Clean: Gently move the floss back and forth to remove debris.
- Visual Guide: Check out our flossing step-by-step guide for a visual demonstration.
3. Alternatives for Dexterity Limitations
- Floss Holders: Useful for those with limited hand strength.
- Pre-Threaded Flossers: Easier to handle and can simplify the flossing process.
Water Flossing: A Modern Solution for All-on-4 Implants
Water flossers, or water picks, are an excellent tool for cleaning implants.
1. How Water Flossers Work
- Function: They use pulsating water to dislodge food particles and bacteria from hard-to-reach areas.
- Benefits: Effective for cleaning around and under the bridge of All-on-4 implants.
2. Using a Water Flosser
- Setup:
- Fill: Add water or a recommended cleaning solution to the reservoir.
- Adjust: Set the pressure to a comfortable level—start low to avoid discomfort.
- Technique:
- Position: Place the tip at the gumline and gently move around the implants.
- Duration: Spend 1-2 minutes cleaning all areas.
- Attachment: Use the Implant Denture Tip for better access under the bridge. For a visual guide, see our water flosser demo.
3. Adjusting Water Pressure
- Concern: High pressure can be uncomfortable or potentially damaging.
- Solution: Adjust the pressure settings on your flosser to find a comfortable level that still effectively cleans.
Additional Cleaning Tips
For a thorough cleaning routine, consider these extra steps:
1. Clean Your Tongue and Inner Cheeks
- Purpose: Bacteria can accumulate on these surfaces, contributing to gum problems.
- Method: Use a tongue scraper or brush to clean these areas.
2. Rinse with Mouthwash
- Type: Choose a non-alcoholic mouthwash to avoid irritation and dry mouth.
- Consult: Your dentist can recommend a suitable mouthwash for implant care.
3. Regular Dental Checkups
- Frequency: Schedule visits every 3-6 months for professional cleanings and implant monitoring.
- Benefit: Early detection of potential issues can prevent major problems.
Maintaining Good Oral Habits
Your diet and lifestyle impact your implant health:
1. Diet
- Avoid: Sugary and acidic foods that promote bacteria growth and plaque buildup.
- Recommendation: Eat a balanced diet rich in vitamins and minerals to support overall oral health.
2. Smoking
- Impact: Smoking significantly increases the risk of implant failure.
- Action: Quitting smoking is crucial for maintaining the health of your implants.
Conclusion
Cleaning your All-on-4 dental implants properly is vital for their longevity and your overall oral health. By following the brushing, flossing, and water flossing techniques outlined in this guide, you can effectively maintain your implants and prevent complications. Regular dental checkups and good oral habits will further support a healthy smile.